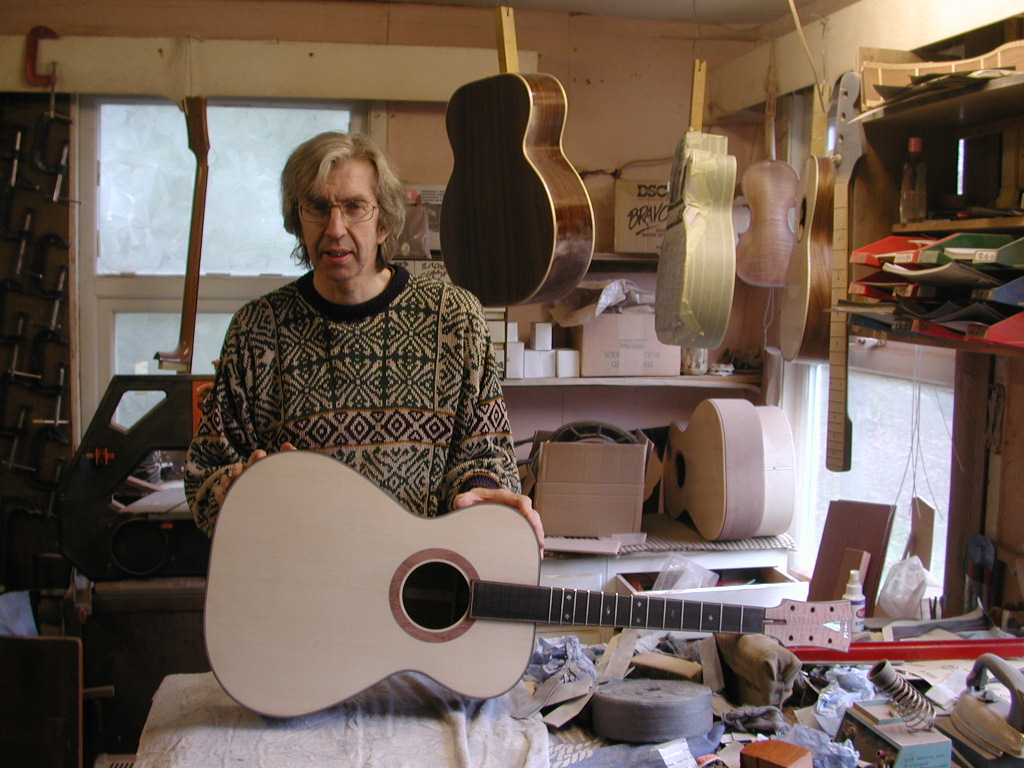
How classical guitars are made and with what materials

Making a musical instrument is not an easy thing, but requires hard work. For example, the luthier who makes an acoustic guitar must select the woods and prepare them for use. Later, he shapes each part of the instrument and paints it. All this must be done very carefully so that the guitar is beautiful and tuned correctly.
What woods can be used
Indian rosewood is widely used for the body, but almost always for the sides, due to its beauty and sonority, as well as Honduran cedar for the neck and Canadian cedar for the soundboard. These are exotic woods and, although they are not in danger of extinction, sometimes the price is very high, due to the fact that there is a lot of demand and little supply. However, it is also possible to find various cheap woods of this type on the market, especially on the Internet.
Another widely used wood is ebony for the fingerboard, which is an almost black wood by nature, which gives a touch of elegance to the guitars.
Of course, even though the wood is of good quality, it should be placed to dry for 2 years at 80 degrees of humidity, because in this way the resin will come out through the pores. If the fabricator doesn’t do this step right, the wood can quickly split.
Sawing and cutting
Once the wood has dried properly, the luthier proceeds to saw and cut it, giving each part of the guitar its shape, for example, the top, back, sides, soundhole, rosette, neck, etc. To do this, the manufacturer uses molds with predetermined shapes, so that the sound does not vary too much from one guitar to another.
The fingerboard goes on the neck and the head will go on the end, in the latter there are the holes where the specialist will later mount the pegbox.

guitar assembly
First, the luthier joins the neck with the rings through glue and precise moulds. Next, press and fit the sides, reinforcing them with cedar bars so they don’t lose their shape, as these are what give the guitar the classic design.
Once the rings have been reinforced, the lid is assembled, in which a hole commonly called the mouth must first be opened. The sound of the instrument will come out of the latter. In addition, we mention that with the skeleton of the instrument ready, the manufacturer will place the back of the guitar, thus completing the assembly of the soundboard.
When the luthier places the glue to join all the pieces, he uses a pressing machine, since with it he will be able to do this with greater precision. Of course, he must wait a reasonable time for the glue to dry completely. Then, it is necessary to place the ebony fretboard on the neck of the guitar, in this way it is possible to assemble the frets, which are normally 19, but some musicians ask the luthiers for guitars with up to 20 frets or more.
Having the body and neck ready, the manufacturer will have to continue with the bridge. In this part of the manufacturing, great care must be taken, since the bridge is the one that will support the tension of 46 Kg provided by the strings. Also, if the bridge is not placed correctly, the tuning of the instrument will not be optimal.
Likewise, the craftsman must install the capo, which together with the bridge will regulate the height and tension of the strings. The capo goes on top of the neck and is the one that divides the head with the fingerboard. On the other hand, there is the bridge bone, which must be cow, like the nut.
guitar embellishment
The instrument must be beautiful, that it attracts the attention not only of the ear, but also the sight of the buyers. Therefore, after assembling all the pieces, the luthier cuts the excess wood on the edges of the soundboard or any area that requires it.
In addition to this, as part of the embellishment we can mention the rosette that goes around the soundhole of the guitar, which makes the instrument more elegant. There are even some special guitar borders that are mounted on the edges of the top and back. These can be black, brown or any color that matches the shades of the wood used.
The embellishment process is an artisan task, because luthiers do not normally do it with machines, but by hand. An example of this is the final aesthetic touch, varnish and shine, that is, the painting and polishing of the guitar. At this point, the luthier should not overpaint, nor should he allow dust to fall on the instrument, at least not while the gloss dries completely.
Afterward, the fabricator can use wet sandpaper, which helps even out the gloss. Finally, you must polish the instrument so that it looks like a mirror, this will give it the decisive touch in terms of aesthetics.

Installing the headstock and strings
When carrying out the entire assembly and beautification process, the next thing is to place the pegbox on the head of the instrument, which is held by several small screws. The headstocks almost always have black, white or ivory turning knobs. The chosen color will depend on the demands or preferences of the musician who will play the guitar.
The strings are held and wound on the pegbox, in addition, thanks to this accessory, the performer will be able to tune the instrument, giving them the necessary tension. Nylon strings are recommended as they are very durable and offer a warm tone, however, there are also pig gut strings which offer good sound. In addition to this, the manufacturer must install only 6 strings for a classical guitar, Mi, Si, Sol, Re, La, Mi.
On the other hand, we mentioned that in classical guitars some strings look like metal, but they are not. That is to say, they are actually made with multiple nylon filaments, which in turn are wound with nickel, silver, copper or some similar material. For that reason, many people confuse the last D, A and E strings with the metallic ones of Folk guitars.


